Objects Editor Overview
What is an object?
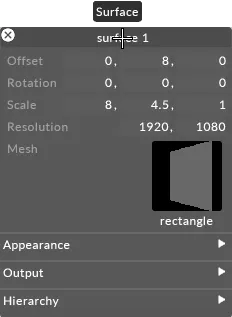
Section titled “What is an object?”Everything in the software is an object. An object is an entity that has a list of named properties. For example, a Screen object has properties such as Offset, Rotation, Scale, Resolution, Mesh, Pixel Mask, Population Mask etc. These properties can be edited using an object editor.
Types of objects
Section titled “Types of objects”Every object in the system has a type. For instance, objects in the Stage Visualiser may be of the type LED Screens, DMX Lights, Projection Surfaces, Projectors, Cameras, MR Sets and Skeletons. Props and Venues are also objects.
For more information on how to add screen and prop objects please read the next chapter Stage Setup. Read more about the different screen types in the Screen types overview sub-chapter.

The standard object editor
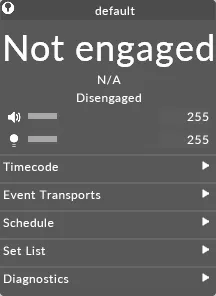
Section titled “The standard object editor”All properties of an object can be edited using an object editor. For instance, a Screen object’s properties can be edited using the Screen object editor. In some cases, specialised editors have been created to provide more intuitive user interfaces. For example, the Track Player at the bottom of the screen is a specialised object editor for the Track type.
Opening an editor for an object
Section titled “Opening an editor for an object”To open an object editor:
- Right-click an object, for example, any 3D object in the Stage Visualiser.
Making menu windows sticky
Section titled “Making menu windows sticky”It is possible to make menu windows ‘sticky’ or pin the window in place. A menu window is simply a window in the software, such as an object editor. This means that when you close and restart the software, the menus will remain open. This is particularly useful if you are editing objects and you do not want to have to reopen all of the object editors after closing and restarting.
To make a window sticky:
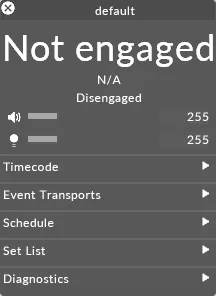
- Ctrl + left-click on the close button (x) of the window. You will notice that the close buttons icon changes.
Finding out the name of an object
Section titled “Finding out the name of an object”Every object has a unique name; this name is displayed in the title bar at the top of a standard object editor.
Finding out the type of an object
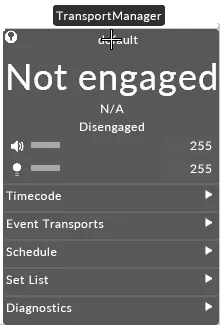
Section titled “Finding out the type of an object”To find out the type of an object, hover the cursor over the title bar of an object editor; a popup text box will show you the type of the object.
The Standard object List Editor
Section titled “The Standard object List Editor”
If you need to edit multiple objects of the same type, then you can open a List Editor by multi-selecting the desired objects and right clicking on one.
All objects with an Editor have a corresponding List Editor; these display all of the same properties as the normal Editor in columns, with one object per row.
List Editor Categories
Section titled “List Editor Categories”Because a single object can have more fields than will fit on screen, most list editors split the display up into categories (or tabs). These are selectable at the top of the List Editor, and correspond to the drop down sections in the regular Editor.
Showing and Hiding Columns
Section titled “Showing and Hiding Columns”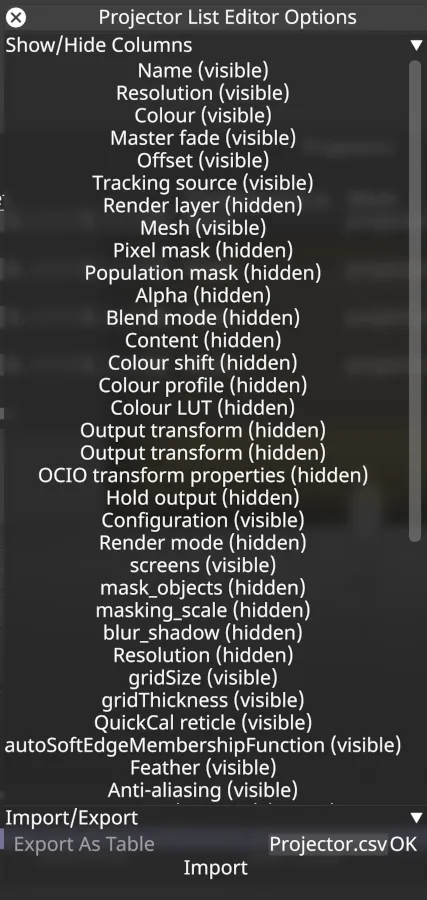
By default, all columns are visible in their Category and hidden in the others; in most List Editors, you can change this by right-clicking the title bar. This will bring up a list of all the columns in the editor along with their visibility, which you can toggle by clicking on them.
Import and Export
Section titled “Import and Export”Right-clicking the title bar will also, for most List Editors, bring up the option to import and export the objects from/to CSV files. Some List Editors only support object export, and some don’t support either.
When exporting, only the selected columns are exported to the CSV file, so you can ignore irrelevant fields. When importing, only the fields contained in the CSV file are overwritten - other fields are left as-is.
Editing multiple objects at once
Section titled “Editing multiple objects at once”It’s possible to select multiple objects at once in a List Editor by holding down SHIFT or CTRL and clicking or using the arrow keys (this behaviour matches most other table-based software like E.G Microsoft Excel, so should be familiar).
With multiple objects selected, changes can be made to all of them by editing a field in one object and then pressing ENTER to apply that change to all selected objects.