Muting Layers
You can mute a layer to temporarily disable it, allowing you to see layers behind it in a stack of layers.
Mute is a session-level control that affects only the current machine. The mute state remains active while the corresponding track is selected. Each time the track is changed or the project is restarted, all layers are reset to the default unmuted state.
Muting a single layer
Section titled “Muting a single layer”- Hold down the M key and left-click the layer.
Or alternatively
- Right-click on the layer and left-click the Mute option.
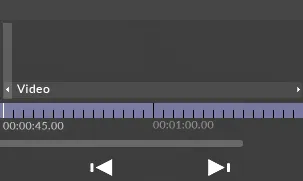
The layer will turn dark grey to indicate that the selected layer has been muted.
Unmuting a single layer:
Section titled “Unmuting a single layer:”- Hold down the M key and left-click the layer again.
Or alternatively
- Right-click on the layer and left-click the unmute option.
The layer will return to its original colour.
Persistent layer exclusion
Section titled “Persistent layer exclusion”If you need a layer to remain excluded from rendering and sequencing across track changes, project saves, and restarts, use the Disable feature instead of Mute. See Disabling Layers for more information.