LED Screens
LED screens are first-class objects alongside projectors. You compose a wall from tiles, set physical pixel pitch, optionally curve the wall, and preview content directly on its surface. The same brightness and photometric viewports that analyse projection coverage also work on LED.
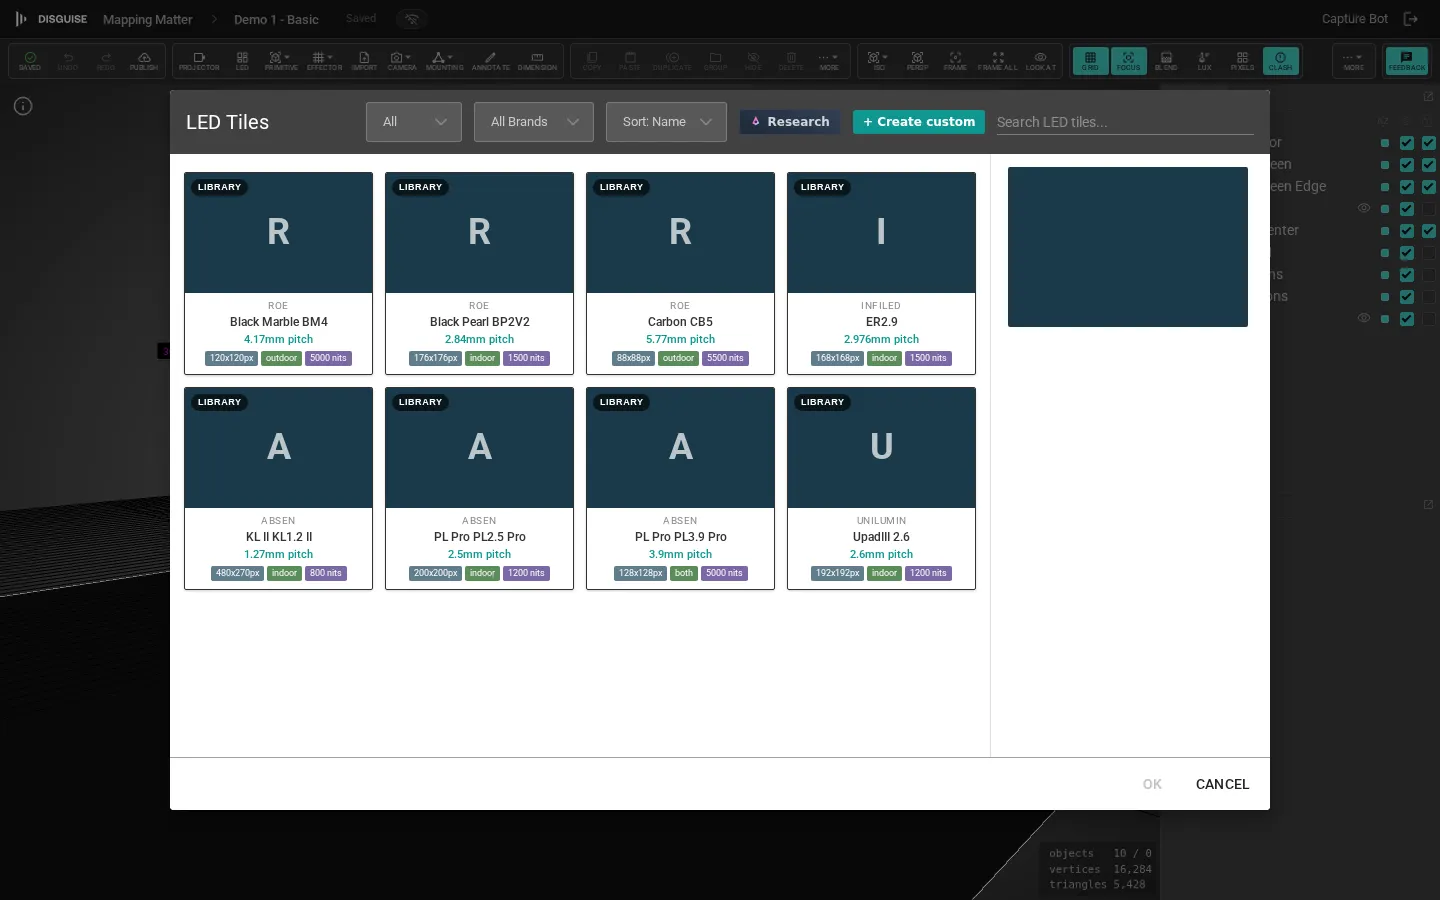
Add an LED screen
Section titled “Add an LED screen”Click LED in the viewport toolbar’s add cluster to open the LED library overlay. Choose a tile from the catalogue and set the wall layout.
Configure the wall
Section titled “Configure the wall”The LED screen Properties panel covers:
- Tile — the active tile model (read-only label). Click Change Tile… to swap.
- Pixel Pitch — read-only, from the tile catalogue.
- Tiles H / Tiles V — horizontal and vertical tile counts (1–100 each).
- Brightness (%) — output factor from 1% to 200%, matching the projector control. The tile spec’s rated peak brightness is shown read-only next to the field so you can see what the panel is rated at and how hard you’re driving it. Combine Brightness % and the spec’s nits to compare a flagship wall at 50% with a budget wall at 100%. When you multi-select LED screens and projectors together, the same Brightness % field writes to both.
- Mounting — Wall, Ground Stack, or Hung; affects how rigging is drawn.
The Content collapsible sets the Texture displayed on the wall and a fallback Color for when no texture is assigned.
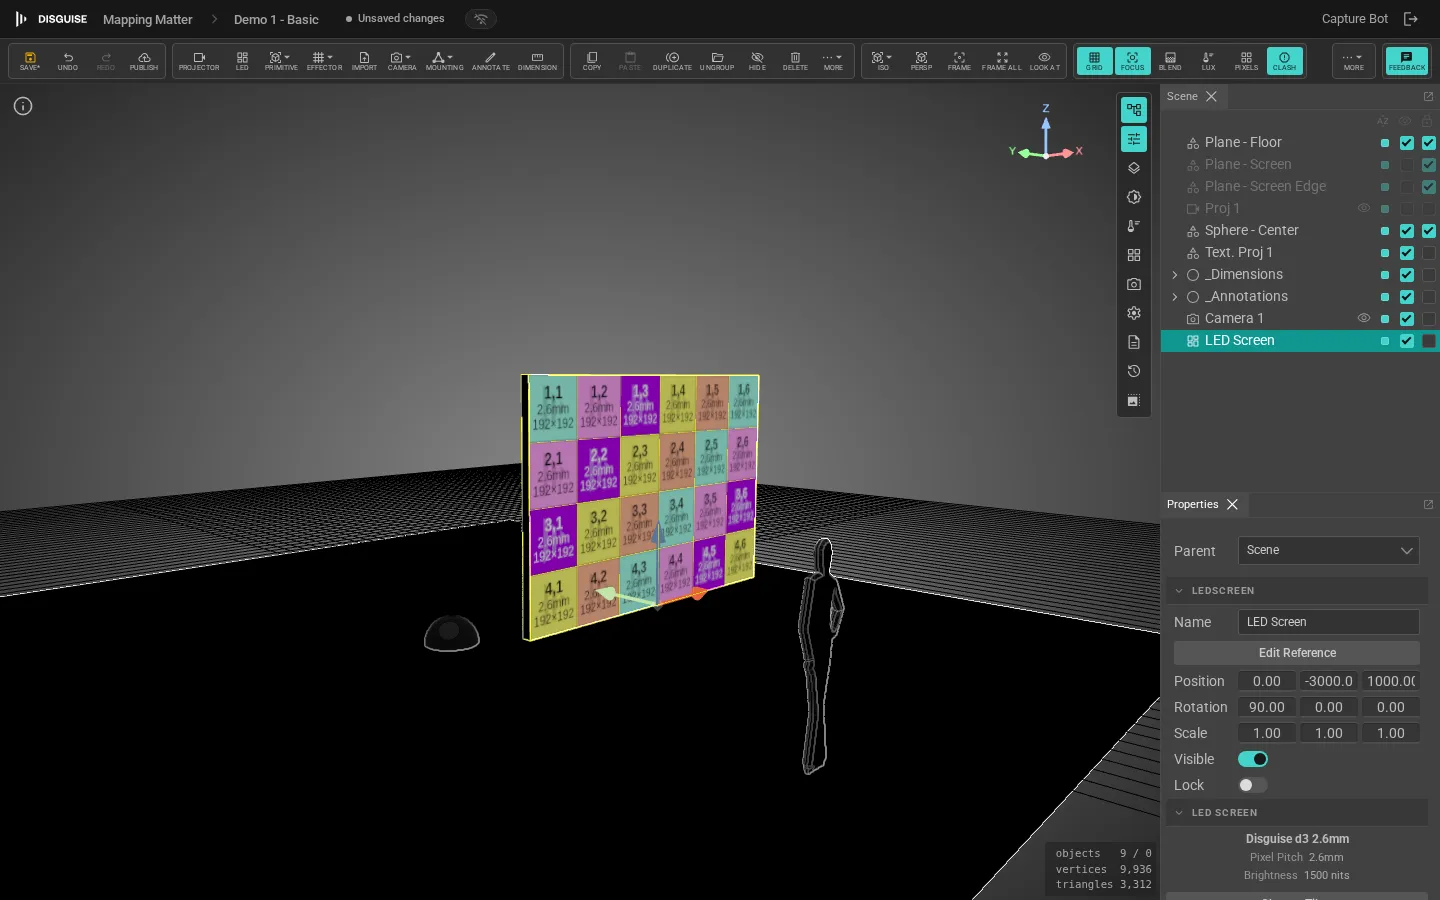
The Information collapsible shows computed values: total Resolution (H × V pixels), physical Dimensions, aggregate Weight and Power draw across all tiles.
Curve the wall
Section titled “Curve the wall”To curve an LED wall, open the Curve collapsible in its Properties panel and toggle Enable Curve. The remaining fields appear:
- Axis — Horizontal or Vertical, the direction of curvature.
- Direction — Concave (curving toward the viewer) or Convex (curving away).
- Tile Angle — the angle each tile rotates relative to its neighbour, 0.1° to 45°.
The panel then displays the derived geometry:
- Radius — the absolute curve radius.
- Total Curvature — aggregate angle across all tiles.
- Chord — straight-line distance between the wall’s outer tiles.
- Depth — maximum depth from the chord to the curved surface.
Every tile rotates by Tile Angle relative to the previous one — there is no per-tile override.
Position and rotate
Section titled “Position and rotate”LED walls follow the same transform rules as any other object: move, rotate, scale, and parent under groups or effectors. To duplicate a wall around a centre point or fan out a series of walls, use the toolbar Effector button with Polar Array or Fan.
Mount on a truss
Section titled “Mount on a truss”LED tiles can be clamped to a truss the same way projectors are. The Mounting collapsible in the Properties panel surfaces clamp position, hang direction, height offset and the Ground tower / Flown truss / Existing truss quick-attach buttons. See Trusses & mounting.
Light, brightness and photometric analysis
Section titled “Light, brightness and photometric analysis”LED screens cast forward-only emission into the scene — the panel’s nits drive the lighting at the front of the wall, without spill behind the tiles. Curved walls emit along the curve (with adaptive sampling so wide arcs still light correctly), and LED contribution feeds the renderer’s auto-exposure so a bright wall darkens the rest of the scene the way the eye expects.
LED screens contribute to the brightness viewport heatmap and to surface coverage statistics. Their photometric readout uses the panel’s native brightness (rated nits × Brightness %) so the lux numbers match what you’d measure rather than depending on the displayed content. See Viewport & analysis.