Viewport and Analysis
Four analysis tools share the viewport. Photometric, Projection Accuracy and Brightness are mutually exclusive — turning one on switches the others off. Human Acuity is a separate overlay that runs on top of any of them, but only from an Observer’s eye view.
- Photometric — lux per surface, plus coverage and overlap statistics. Toggle with the Lux button on the toolbar’s display cluster.
- Projection accuracy — pixel density or pixel stretch heatmaps. Toggle the viewport overlay with Pixels on the toolbar, and configure the mode and scale in the Accuracy panel.
- Brightness — live lux heatmap with a configurable colour bar. Controlled from the Brightness panel.
- Human acuity — colour-codes every projected pixel and LED pixel against the 1-arcminute (20/20) visual acuity threshold. Toggle with Acuity in the toolbar’s camera-views cluster while looking from an Observer.
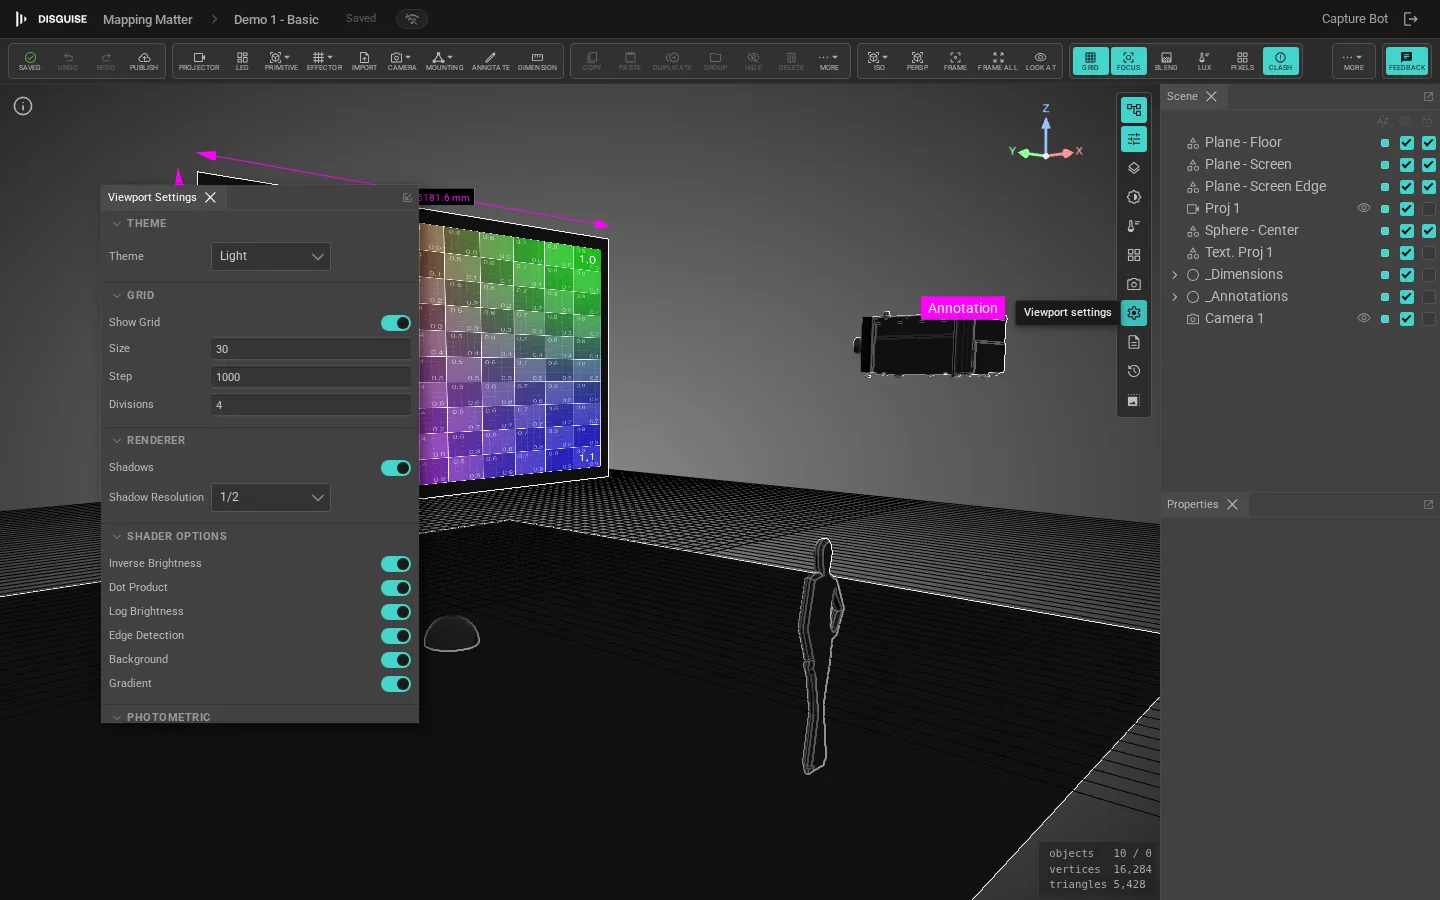
Viewport display settings
Section titled “Viewport display settings”Open Viewport settings from the toolbar to toggle:
- Perceptual luminance — gamma-correct shading to match human perception.
- Object edges — render wireframes over all objects.
- Projector beams — show every projector’s beam, even those not selected.
- Projection distance helper — colour-codes each surface by its distance from the nearest projector, useful for catching focus issues.
- Grid — quantity, size, subdivisions.
- Background — flat colour or gradient.
- Material override — replace all materials with a neutral grey for blocking checks.
Snap modes
Section titled “Snap modes”The Snap button in the toolbar’s Overlays cluster opens a popover with five global snap modes that govern gizmo translation:
- Off — no snapping.
- Grid — clamps the drag delta to the grid spacing. A grid-step input appears in the popover while this mode is active.
- Vertex — snaps the gizmo origin to the nearest vertex on another mesh.
- Edge — snaps to the nearest edge segment.
- Surface — snaps to the surface point under the cursor.
Vertex, edge and surface modes treat every visible mesh as a candidate target — including truss members and the observer figure — so you can align a projector to a truss chord or an audience-side mesh without first picking it. A green disc appears at the snap target while you drag; the trigger button’s icon and label reflect the active mode so you can see the current state without opening the popover.
Blend mode
Section titled “Blend mode”The display cluster includes a Blend toggle that controls how overlapping projector contributions are summed. By default, the viewport renders the literal physics — two projectors hitting the same surface combine their lux and look twice as bright. With Blend turned on, the renderer assumes those overlaps are soft-edge blended in production, and only counts a single projector’s contribution in the overlap region (whichever delivers the most light there).
The setting affects both the shaded viewport and the photometric Lux / Luminance heatmap, so the readouts match what you’d measure on a properly blended rig. Pixel density and Human acuity are unaffected — they are geometric and don’t care about overlap. LED screens are also unaffected — overlapping LED panels stack as before.
Use Blend on when you want to evaluate the final, blended deliverable; turn it off when you need to spot raw overlap zones that the operator will need to soft-edge in the first place.
The toggle is persisted with the scene, defaults to off, and is also available from Viewport settings for keyboard-driven workflows.
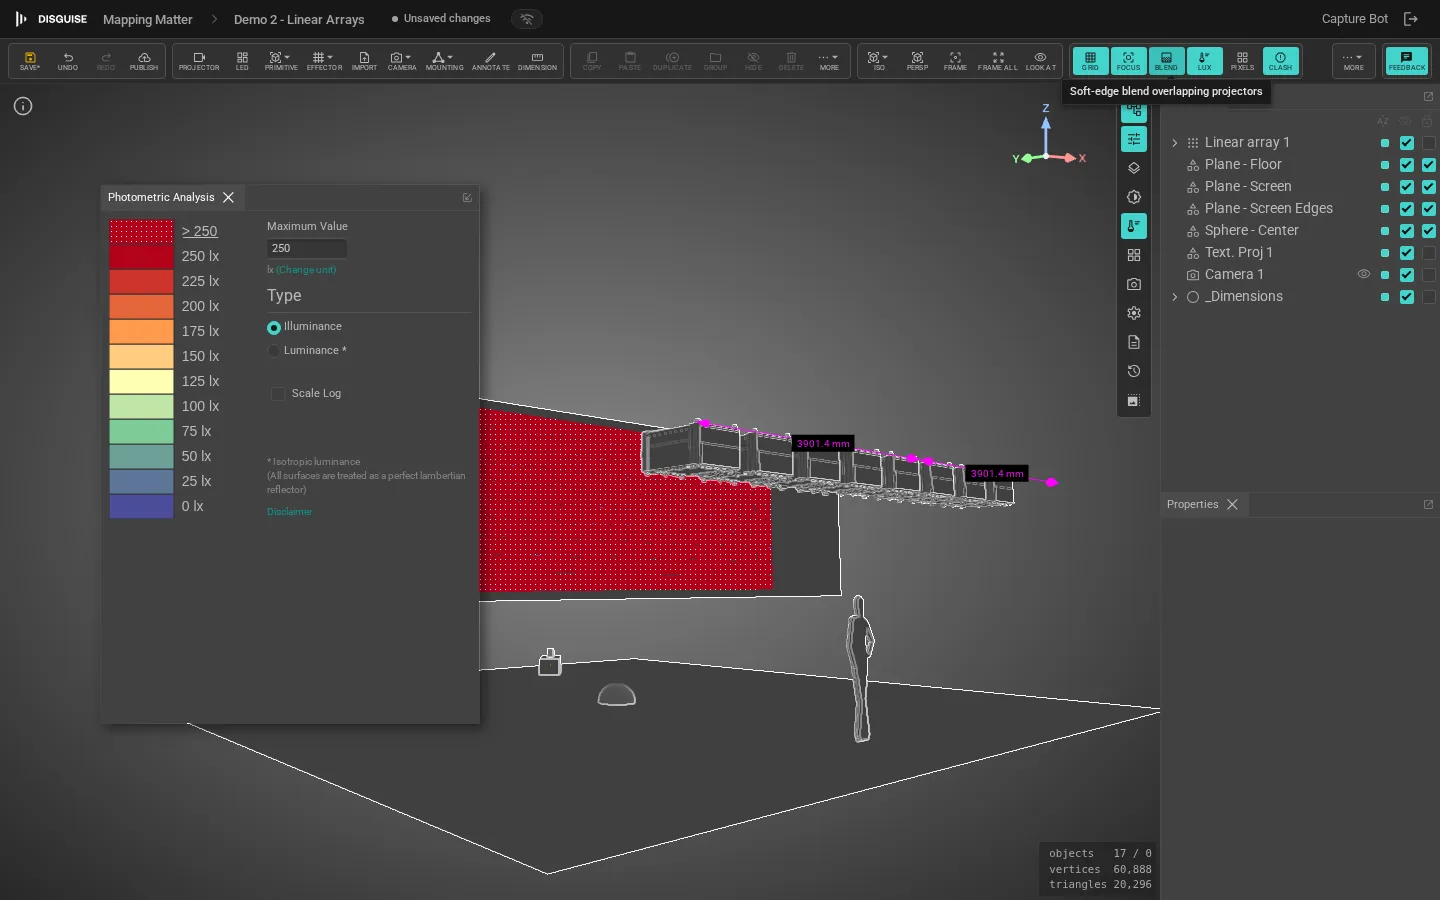
Photometric analysis
Section titled “Photometric analysis”The photometric viewport evaluates the projector contribution to each surface. Click Lux in the toolbar display cluster to toggle it on.
For each surface in the scene it reports:
- Illuminance — lux on the surface from all projectors combined.
- Luminance — light reflected from the surface back toward a chosen viewpoint.
- Coverage — % of the surface covered by at least one projector.
- Overlap — % of the surface covered by two or more projectors (for blending).
- Contrast ratio — luminance ratio across the surface; 5:1 is a minimum, 10:1 is ideal.
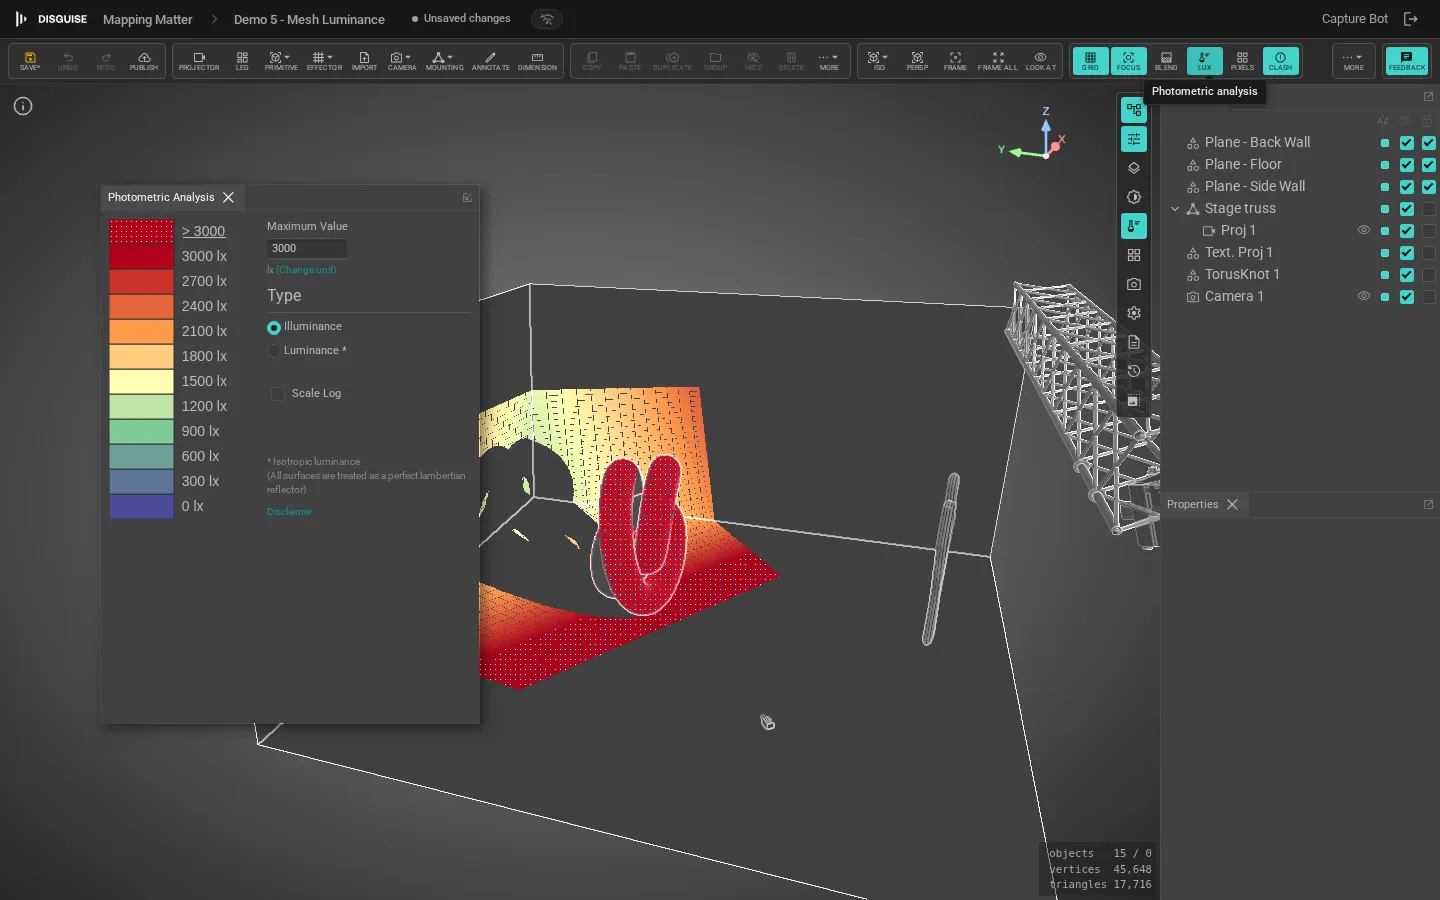
Photometric calculations consider only projector and LED contribution. Ambient and directional light in the scene are excluded from the calculation; use the Brightness viewport below for a full energy view.
LED screen readouts use the panel’s native brightness — the rated nits of the tile spec multiplied by the screen’s brightness factor. The content being displayed (test pattern, video clip) is ignored, so the lux numbers match what you’d measure with an instrument rather than depending on whatever’s playing. This matches the projector behaviour where output is independent of the projector image.
Projection accuracy
Section titled “Projection accuracy”The Accuracy analysis answers a different question from Photometric: how well does each projector resolve to the surface it’s hitting? Open Pixel density in the bottom Panels strip and pick a mode:
- Pixel Density — pixels per unit length on the surface, in the active scene unit. Set the Maximum Value to the density that should map to the top of the colour bar; areas at or above max render red, areas at the bottom render blue. Useful for confirming that a wall is hit with the resolution you sold to the client.
- Pixel Stretch — the anisotropy ratio between the projector’s horizontal and vertical pixels on the surface. A perfectly square pixel is 1.0; the further from 1 the more distorted (oblique angles, off-axis projectors). Maximum tops out at 5×.
Toggle Scale Log to spread the colour bar across very different densities. The panel also reports aggregate stats — best, worst, average, and coverage — across all visible surfaces.
![]()
![]()
The Pixels button on the toolbar’s display cluster is the in-viewport overlay for whichever mode the Accuracy panel last had selected. Use it as a quick on/off while the panel stays in the side dock.
Human acuity
Section titled “Human acuity”The Human Acuity overlay tells you whether each projector or LED pixel is resolvable to a human standing at the observer’s eye. The 1-arcminute (20/20) threshold is the reference. Place an Observer, use Look from to enter their view, then click Acuity on the toolbar to enable the overlay.
While looking from the observer you can walk around with WASD and free-look with Mouse look (toolbar button or hold the cursor) — the acuity bands update live as the observer moves, so you can validate seat-by-seat coverage by stepping through the audience plot rather than guessing from a fixed POV.
The colour key (relative to the 1-arcminute threshold):
| Band | Meaning |
|---|---|
| Blue / cyan | Pixels much smaller than acuity — finer than the eye can resolve. Wasted resolution. |
| Green | Pixels at or near acuity — the sweet spot. |
| Yellow / orange | Pixels larger than acuity — visible structure. |
| Red | Pixels far above acuity — clearly pixellated to the observer. |
Acuity only renders from an Observer’s eye view; leaving look-from mode (or selecting a non-observer view) clears the overlay. Use it together with pixel density to balance specified resolution against perceived resolution.
Brightness viewport
Section titled “Brightness viewport”The brightness viewport renders the live lux distribution across all surfaces as a colour heatmap with a configurable colour bar.
In the Brightness panel:
- Auto range — fit the colour bar to the current scene’s min/max lux.
- Log scale — apply a log mapping so dim regions are still discernible.
- Projection texture overlay — overlay each projector’s assigned texture on the surface, regardless of beam visibility.
- Ambient light — overall scene fill; affects shading but not photometric numbers.
- Directional light — sun-like fill with yaw and pitch; affects shading and the brightness viewport.
Measurements and annotations
Section titled “Measurements and annotations”Within either analysis mode you can place numeric dimensions and freehand annotations — see Measurements & annotations.
See also
Section titled “See also”- Projectors for beam orientation
- LED screens for LED contribution to the heatmap
- Export & PDF layouts — photometric numbers are included in PDF and CSV exports